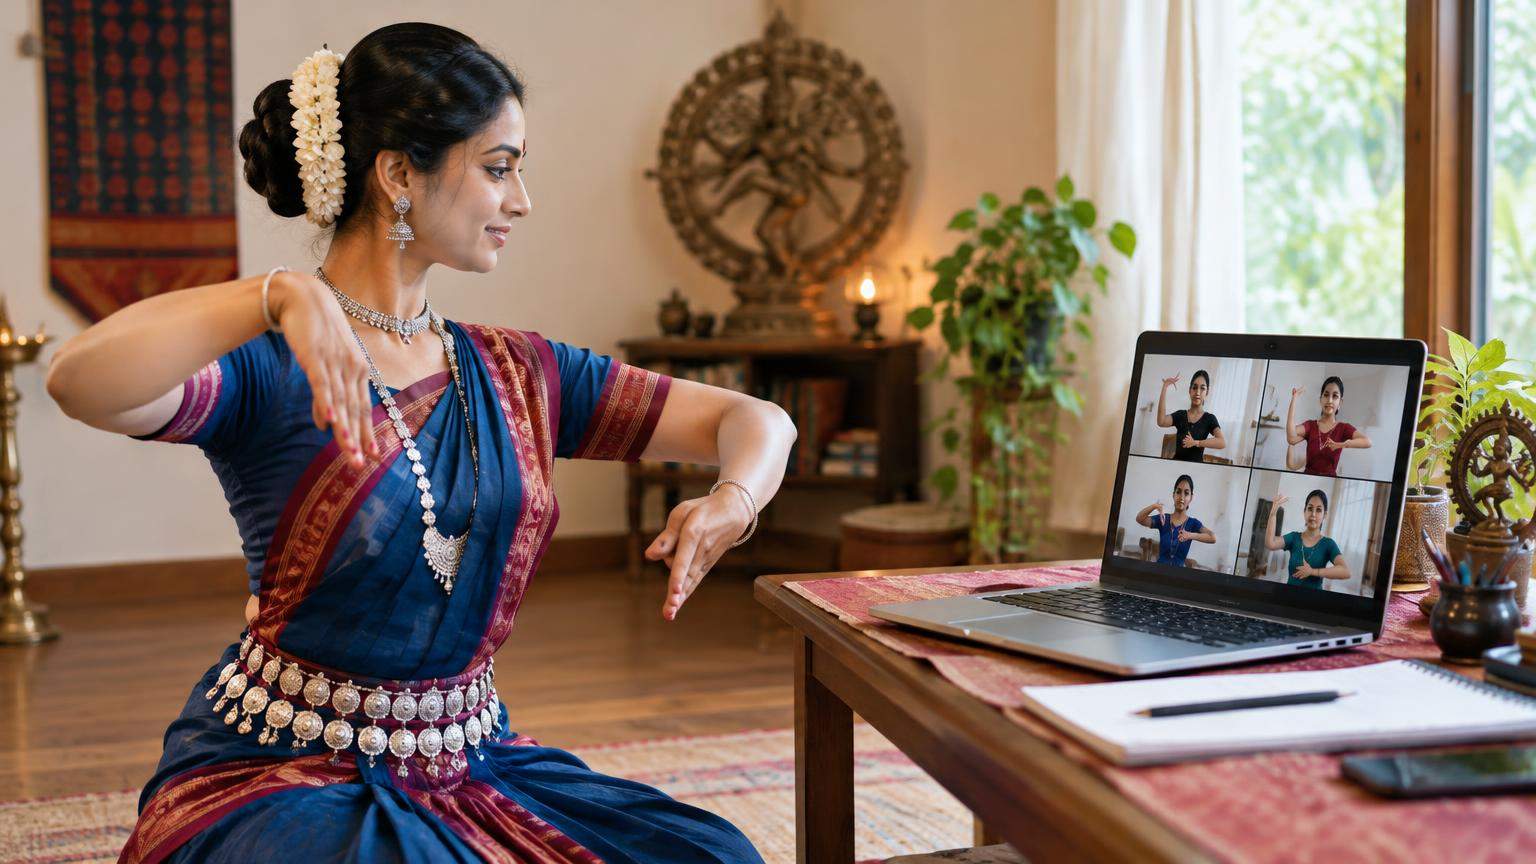
If you are wondering how to teach Odissi dance online and turn your skills into a stable income in India, 2026 is a good time to start. Reliable video platforms, UPI payments and simple payment links make it possible to run small but serious online Odissi batches from your living room, whether you are a solo dancer or a small academy.
1. Deciding if you are ready to teach Odissi online
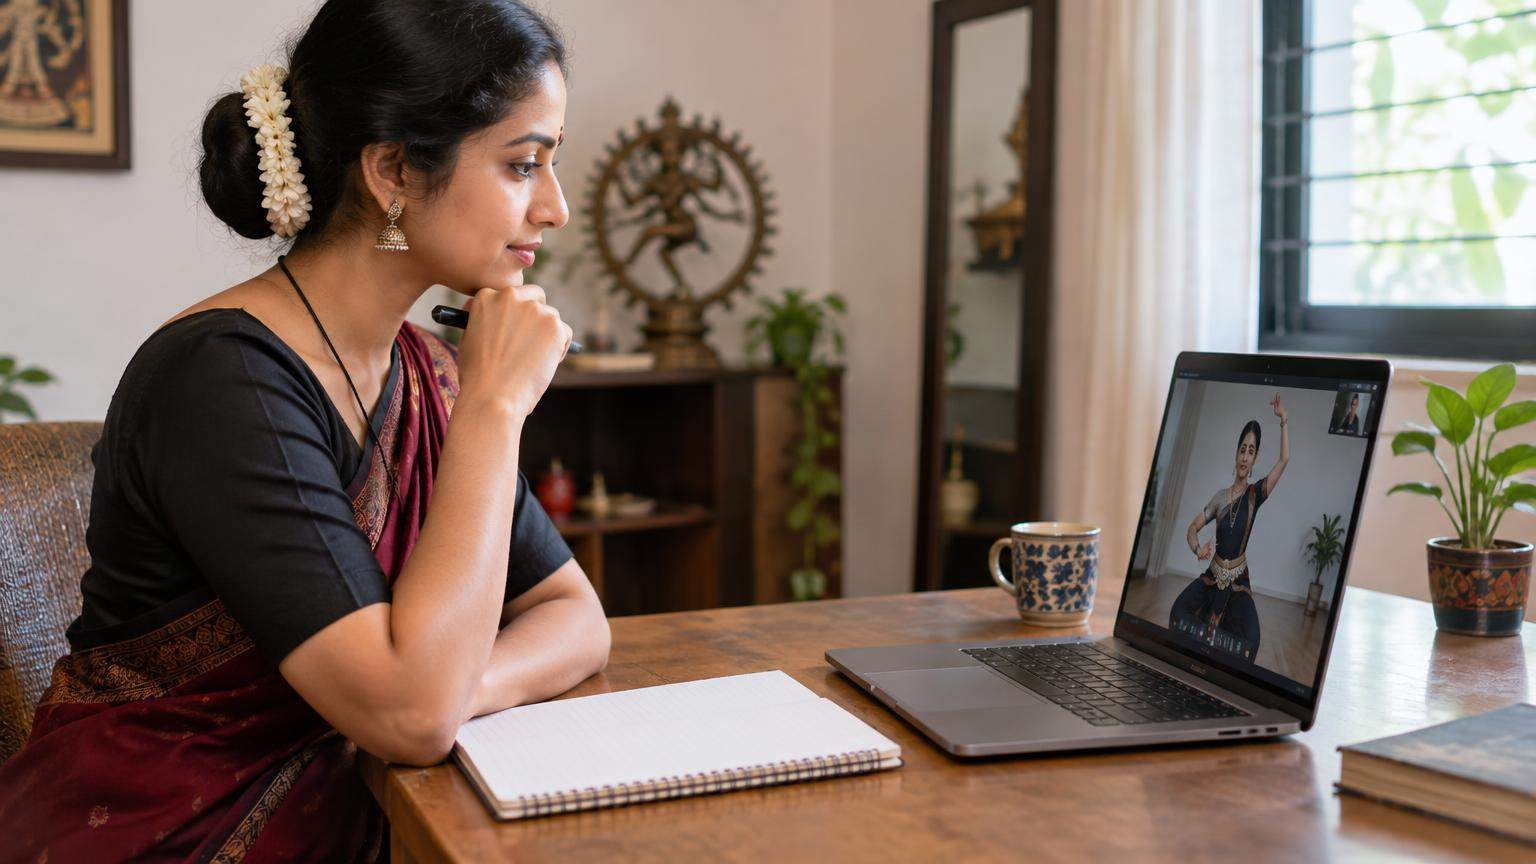
Before thinking about fees or fancy platforms, be honest about whether you are ready to guide paying students.
1.1. Minimum dance and teaching foundations
You do not need to be a guru with decades of experience, but for paid online beginners’ classes you should at least have:
- Solid basics in Odissi technique (bhangi, chauka, tribhangi, basic pada bheda, hastas, and simple pallavis).
- Ability to break movements into clear, slow steps and demonstrate both mirror and back views.
- Some experience helping juniors in your own class or assisting a guru, even informally.
If you are not confident about correcting posture or explaining “why” behind each movement (for example, knee alignment in chauka or spinal curve in tribhangi), invest a few months shadow-teaching with your own guru before charging online.
1.2. What students need at their end
Set clear expectations for students so they can actually follow your online Odissi class:
- 3–4 feet of free space in all directions, non-slippery floor.
- Basic smartphone with stable internet, earphones or a small speaker.
- Comfortable practice clothes (salwar/leggings and kurta or T-shirt), not heavy costume.
- Willingness to keep camera on during corrections.
Share this in your welcome message so students (and parents) prepare the space before the first class.
2. Choosing your online teaching format: live, recorded or hybrid
Your format affects your schedule, fees, and workload. You can mix formats, but start with one that matches your current capacity.
2.1. Live classes (most natural for beginners)
Live, interactive sessions work well for Odissi basics, because you can:
- Demonstrate movement slowly and check each student’s posture.
- Answer questions about counts, mudras and expressions on the spot.
- Build a sense of batch discipline and community.
For live sessions, Google Meet is a practical option in India. Google Workspace’s India site shows that its business plans bundle Google Meet with Gmail, Calendar and Drive, with pricing listed in INR for Indian customers. [1] That means, if you outgrow the free Meet that comes with a personal Gmail, you can upgrade to a Workspace plan to unlock features like higher participant limits, longer meetings and extra cloud storage. Always check the Workspace India pricing page before subscribing because plans and promotional rates can change. [1]
Other tools like Zoom, Microsoft Teams or JioMeet are also usable, but you do not need complex integrations in the beginning.
2.2. Recorded courses (for flexible practice)
Pre-recorded lessons can help students who:
- Live in different time zones.
- Want to replay adavus many times.
- Are unsure about committing to a live batch.
You can record vertical or horizontal videos, store them on Google Drive or on an unlisted YouTube playlist, and share links only with paying students. Make it clear in your policy whether downloads are allowed and how long access lasts.
2.3. Hybrid model (commonly used)
A simple hybrid structure for Odissi:
- One or two live classes per week for new material and corrections.
- Short recorded breakdowns (2–5 minutes each) of adavus and difficult transitions for revision.
- Optional monthly feedback video: students send a short clip; you reply with notes.
Hybrid gives better value to students and lets you reuse recorded content when new batches start.
3. Setting up a simple but effective home studio
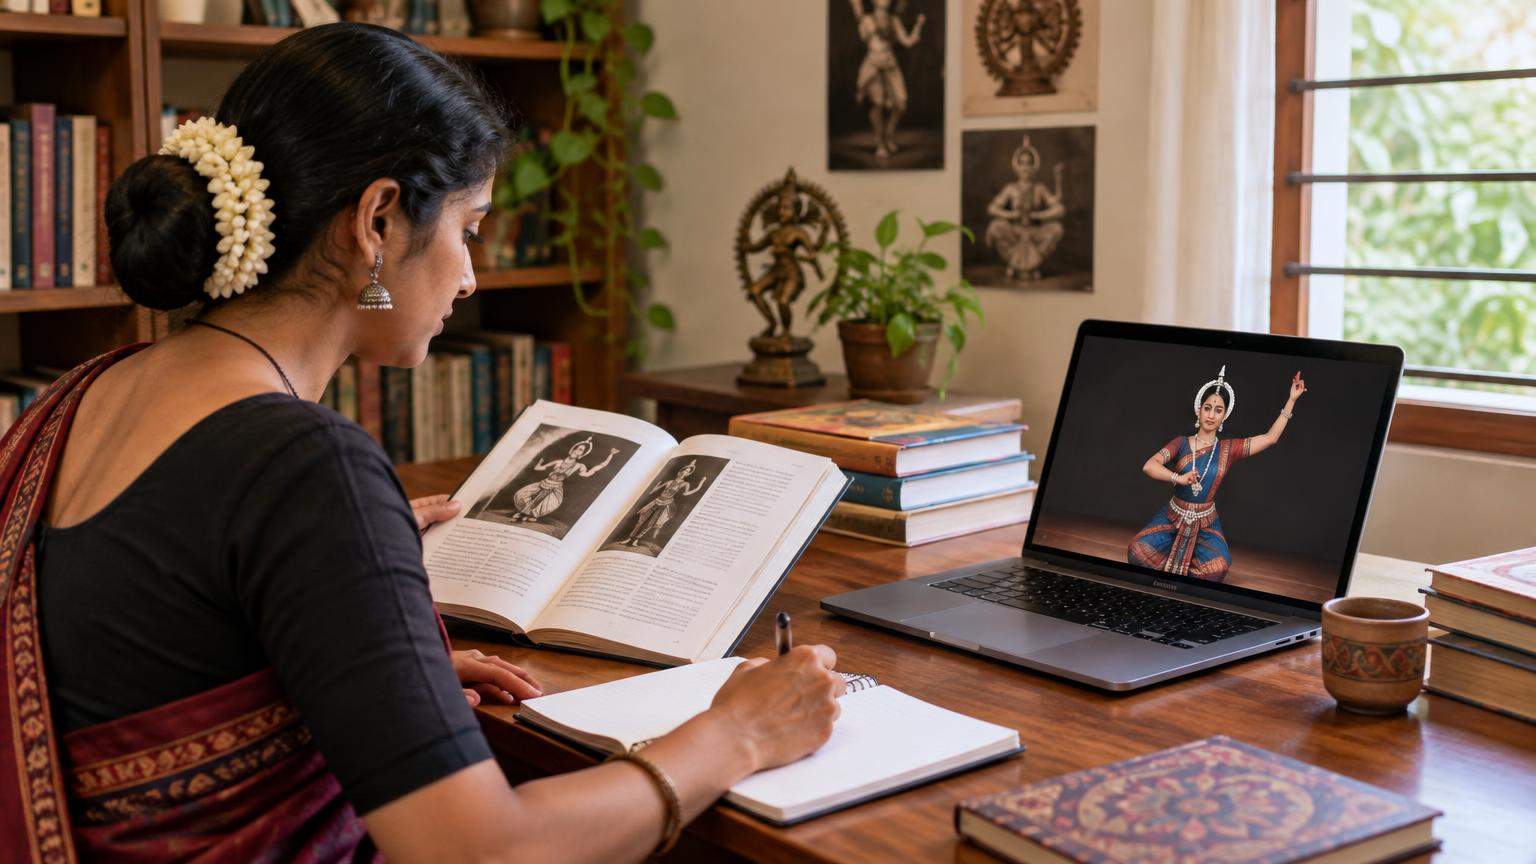
You do not need a professional studio, but students must see your full body clearly and hear counts and music without distortion.
3.1. Space, background and safety
- Choose a rectangular area where you can take at least 3–4 steps in any direction.
- Clear furniture, loose carpets and wires to avoid tripping.
- Use a plain wall or curtain as background so students focus on your posture.
- Mark a standing spot with tape so you always stay inside the camera frame.
3.2. Camera placement
- Use the rear camera of your phone where possible; it usually has better quality than the front camera.
- Place the camera slightly above waist level, 2–3 metres away, angled so your head and feet are visible even in chauka.
- For corrections, occasionally step closer to the camera to show hand and facial details.
A simple tripod with a phone mount is enough in most cases; in emergencies you can stack books or use a stable shelf.
3.3. Lighting and sound
- Face a window during daytime. Avoid bright window or tube light directly behind you.
- If teaching at night, place a white light in front of you at or slightly above eye level.
- Use a Bluetooth speaker or wired speakers near your phone so music and counts are audible.
- Do a 1–2 minute test recording before the first paid class to check if students will hear both voice and music clearly.
3.4. Basic software setup
- Create a dedicated Gmail ID for your dance classes to keep things separate.
- Use Google Calendar to schedule recurring classes and auto-generate Meet links. [1]
- Save class recordings (if you record) in a clearly labelled Drive folder: BatchName > YYYY-MM > Class-Number. [1]
4. Designing a structured Odissi beginner curriculum for online students
A clear curriculum keeps you confident and reassures parents that learning is systematic, not random.
4.1. Define your beginner goal
Decide what a student should achieve in the first 8–12 weeks, for example:
- Hold basic chauka and tribhangi safely for short periods.
- Perform 6–8 basic adavus with correct footwork and arm positions.
- Understand and show at least 10–15 single-hand and double-hand hastas.
- Learn one short mangalacharan or pallavi segment, depending on your gharana and guru’s tradition.
4.2. Sample four-week Odissi beginner curriculum (online)
This is only a template; adapt counts, order and compositions to your lineage.
- Week 1 – Foundations and posture
- Introduction to Odissi history and your parampara.
- Warm-up routine (neck, shoulders, spine, knees).
- Basic stance: sama, chauka – alignment of feet, knees, spine, arms.
- Simple torso bends and tribhangi concept (without speed).
- Homework: 5–10 minutes of slow chauka holds with video reference.
- Week 2 – Adavus level 1
- Revision of Week 1 with quick corrections.
- First 2–3 adavus; focus on stamping, weight transfer, arm pathways.
- Introduction to basic hasta set (5–6 hands) and their names.
- Simple coordination exercises – claps and counts.
- Week 3 – Adding complexity
- Adavus 4–6 with music at very slow tempo.
- Practice short sequences combining previously learned adavus.
- More hastas and basic facial expressions (bhava mapping, not full abhinaya).
- Short theory: tala and laya concepts.
- Week 4 – Mini choreography and assessment
- Revise all adavus learnt so far.
- Teach a very short sequence (4–8 bars) from an appropriate piece.
- One-to-one micro-assessment within the group: each student performs adavus for 30–60 seconds while others watch and learn.
- Share individual feedback and next steps; invite parents to observe last 10–15 minutes for minors.
You can repeat this four-week structure as “Level 1A” and build further for higher levels.
5. Managing enrolments, schedules, trial classes and communication
5.1. Simple enrolment process
For a solo teacher, you do not need a full website to start. A minimal workflow:
- Collect enquiries via a Google Form (name, age, location, prior experience, preferred time, parent contact for minors).
- Send a standard information document (PDF or email) explaining batch options, fees, rules, and trial class structure.
- On confirmation, share a payment link (see payments section) and clearly mention last date to pay to reserve a seat.
- After payment, send a welcome email or WhatsApp message with class link, start date and basic rules.
5.2. Scheduling around Indian students
For India-based students, evenings and weekends usually work best:
- Weekday batches: 6.30–8.30 pm IST.
- Weekend batches: Saturday–Sunday mornings or late afternoons.
If you teach NRIs as well, consider one late-evening IST slot that suits their time zone, but avoid stretching yourself across too many time zones in the beginning.
5.3. Trial classes without giving away the full course
Trial classes are useful to:
- See if the student can follow online instructions.
- Let parents evaluate your communication and professionalism.
- Set discipline expectations (camera on, suitable dress, punctuality).
Options:
- Paid one-class trial: Charge a small, clearly stated fee for a single group class. If they join, you can adjust it against first month’s fees, or keep it separate – but clarify this in your policies.
- Observer trial: Let them watch 20–30 minutes of an ongoing batch without full participation, mainly to understand your style.
Avoid long free trials for everyone; they consume your energy without commitment.
5.4. Communication channels
- Create a broadcast list or closed group for each batch (WhatsApp or Telegram) including parents for minors.
- Share class reminders, links, homework and music tracks there.
- Keep 1:1 chats for necessary clarifications only; do not encourage constant messaging.
For minors, prefer group communication with parents copied rather than private direct messages.
6. Setting fees and getting paid safely in India
You want a system where students can pay easily via UPI or card, and you can track who has paid without manual checking.
6.1. Using payment links (Instamojo and Razorpay)
Payment link tools let you send a URL by WhatsApp, email or SMS; the student clicks and pays via UPI, card, net banking or wallet. A creator-focused comparison explains that payment link providers confirm the payment, record who paid and then settle funds to your bank account, helping you start selling without building a full website. [14]
- Instamojo: Instamojo’s own pricing page describes online store plans like “Lite” and “Starter” with a yearly fee (₹0/yr for Lite as listed in early 2025) and a per-transaction charge instead of a large setup fee. [3] Third-party reviews also note that Instamojo offers both free and paid tiers, with unlimited payment links on its basic plan. [12] This makes it a beginner-friendly choice for solo teachers who mainly need payment links or a simple course page.
- Razorpay: Razorpay’s pricing page highlights an integrated suite including payment gateway, payment links, payment pages, QR codes, UPI payments and webstore functionality under one umbrella. [4] This can suit small academies that plan to scale or integrate payments into their own website.
Because both providers use per-transaction pricing that can change, always check their latest India pricing pages for exact percentage and GST on fees before finalising your class charges. [3][4]
6.2. Direct UPI vs gateway
You can also accept fees directly to your UPI ID (for example, through your bank app). The National Payments Corporation of India (NPCI) publishes the official UPI product guidelines and operating framework for banks and payment service providers. [5]
However, direct UPI has drawbacks for classes:
- You have to manually match each payment to a student and month.
- It is harder to automate receipts.
- Changes in merchant charges (MDR) are not always visible to you in advance. Commentators covering payment link tools have highlighted that UPI MDR rules for merchants are evolving, including proposed changes around October 2026. [14]
Using a payment link service helps centralise records and calculate fees after gateway charges.
6.3. GST and basic tax awareness (India)
As an online Odissi teacher, your income is treated as service income. The Central Board of Indirect Taxes and Customs (CBIC) publishes Sectoral FAQs on GST, including for services, which explain when registration becomes mandatory and how exports, domestic services and exemptions work. [7]
The exact thresholds, exemptions and rules can change and may differ by state category, so instead of relying on hearsay, you should:
- Track your annual gross revenue from teaching and related services.
- Check the latest CBIC GST FAQs or consult a chartered accountant to know at what turnover you must register and start charging GST. [7]
- Remember that once you voluntarily register, GST obligations apply even if your revenue drops later.
This article cannot replace personalised tax advice.
6.4. Hypothetical monthly money example (revenue vs profit)
The numbers below are purely illustrative, to show how tuition revenue is different from profit. They are not recommendations or guarantees.
Assumptions for one batch in a month:
- You charge the same fee per student per month.
- All students pay via a payment link provider that charges a small percentage plus GST (exact rate not specified here; see provider website for real values). [3][4]
- You spend a fixed amount on internet, electricity and small equipment each month.
| Scenario | Students | Total tuition collected (revenue) | Estimated gateway & bank charges | Other monthly expenses (internet, etc.) | Approx. amount left for you (before income tax) |
|---|---|---|---|---|---|
| A | 8 | ₹X | ₹a | ₹b | ₹(X − a − b) |
| B | 15 | ₹Y | ₹c | ₹b | ₹(Y − c − b) |
| C | 25 | ₹Z | ₹d | ₹b | ₹(Z − d − b) |
Here:
- ₹X, ₹Y, ₹Z are the gross tuition fees collected for 8, 15 and 25 students.
- ₹a, ₹c, ₹d are the total payment gateway and bank charges for that month.
- ₹b is the amount you spend on recurring costs (for example, broadband, occasional tripod replacement, electricity share, etc.).
Your revenue is ₹X/₹Y/₹Z. Your profit before income tax is the last column. When planning fees, you must ensure the amount left covers your time and costs, not just look at the top-line revenue.
7. Policies, documentation and teaching minors responsibly
Clear written policies protect you and your students, especially minors.
7.1. Basic written policies to prepare
At minimum, draft one-page policies for:
- Attendance and make-up classes: How many classes can a student miss? Are recordings provided? Any limit on make-up sessions?
- Payments and due dates: Monthly fees due date, late fee (if any), non-refundable elements (like registration fee).
- Cancellations and refunds: When you will refund (for example, if you cancel a workshop) and when you will not (for example, student dropping mid-month).
- Recordings and privacy: Whether you record classes, who can access recordings, how long you store them, and that recordings should not be shared without permission.
Share these in a simple PDF or email and ask students (or parents for minors) to reply “I agree” before the first paid class.
7.2. Teaching minors safely (India context)
India treats safety and dignity of children very seriously, both offline and online. A 2026 press release from the Press Information Bureau explains that the Protection of Children from Sexual Offences (POCSO) Act, 2012 covers sexual harassment and exploitation of children through electronic and online means, including repeated sexually coloured contact and using children in any form of media for sexual gratification. [10] The same release notes that the Digital Personal Data Protection Act, 2023 regulates the handling of children’s personal data online. [10] The National Commission for Protection of Child Rights (NCPCR) publishes online safety and cyber safety guidelines for children, parents and educators. [11]
For online Odissi classes, you are not expected to be a legal expert, but you should follow safe practices such as:
- Treat every student under 18 as a child under special protection laws.
- Keep parents or guardians copied on all scheduling and fee messages.
- Avoid private one-to-one chats or calls with minors that are not strictly class-related; use batch groups or parent numbers.
- Do not comment on a child’s body or appearance; keep feedback purely about technique and effort.
- Store student lists and recordings securely; collect only the minimum data needed to run your class.
7.3. Consent for recording and sharing videos
Before recording or using student videos:
- Explain clearly why you record (for revision, internal quality check, etc.).
- For minors, get written consent from parents for recording and internal sharing within the batch.
- If you want to post any part of a class or performance clip on social media or your website, obtain separate, explicit permission in writing from students (and parents for minors), even if faces are partially hidden.
- Respect a “no” without argument; offer to crop or blur faces only if they voluntarily agree.
These practices align with the spirit of POCSO and data protection laws by prioritising children’s dignity and privacy. [10]
8. First 30 days action plan and pre-launch checklist
8.1. First 30 days action plan
Use this timeline as a realistic guide.
Days 1–7: Foundations
- Clarify your target students (age, level, language comfort).
- Decide format: one beginner batch of 8–12 students, live online twice a week.
- Draft your Level 1 curriculum for the first 8–12 weeks.
- Set up home studio basics (space, tripod, lighting) and run test recordings.
- Create a dedicated Gmail, Calendar and Drive structure for classes. [1]
Days 8–15: Payments and policies
- Create accounts with one payment link provider (for example, Instamojo or Razorpay). [3][4]
- Set up one product or payment link called “Odissi Beginner Batch – Monthly Fees”.
- Draft your attendance, payment, refund, and recording policies.
- Consult a tax professional or at least read the latest CBIC GST FAQ section on services to understand when registration might apply. [7]
Days 16–23: Marketing and trials
- Announce your batch on your personal social media, existing offline student network and relevant dance groups (respecting group rules).
- Create a simple Google Form for enquiries.
- Offer 1–2 limited-seat paid trial sessions on fixed dates.
- Collect feedback after trials and fine-tune your pacing and explanation.
Days 24–30: Finalise and launch
- Confirm which students are joining the first batch and collect fees via your payment links.
- Share welcome messages, class timings, dress code and basic rules.
- Run a “zero class” to check everyone’s audio, video and space, without heavy dancing.
- Start Week 1 of your curriculum with clear explanation of goals and expectations.
8.2. Pre-launch checklist
Before you accept the first rupee of fees, confirm:
- Your home studio is safe, with sufficient space and non-slippery flooring.
- Your internet connection is tested for a full 45–60 minute call without drops.
- You have:
- Your written policies on attendance, refunds and recordings are ready and understandable.
- You have a plan to handle under-18 students, including consent for recording and group-based communication. [10][11]
- You know how you will track monthly revenue and expenses (even in a simple spreadsheet).
Frequently Asked Questions
How many students should I take in my first online Odissi batch?
For a true beginner batch with real corrections, 6–12 students is a sensible starting range. Beyond that, it becomes harder to see individual knees, backs and arms on a small laptop screen, especially if your internet or students’ internet is unstable.
Can I teach Odissi online using only my phone?
Yes, many teachers start with just a smartphone, stable internet and a basic tripod. Over time you might add a laptop or external microphone, but they are not mandatory for launch. Focus first on camera framing, lighting and clear audio.
Do I need GST registration from day one?
Not necessarily. GST registration depends on your total annual revenue and other conditions set by the GST law. CBIC’s Sectoral FAQs explain how GST applies to services and when registration becomes mandatory. [7] Because thresholds and rules can change, speak to a chartered accountant before deciding.
Is it safe to teach children online?
It can be, if you follow strong safety practices. POCSO and related laws criminalise online sexual harassment or exploitation of children, and the Digital Personal Data Protection Act, 2023 regulates how children’s data is handled. [10] Keep parents involved, avoid private one-to-one chats with minors, obtain written consent for recordings, and follow NCPCR’s online safety guidelines. [11]
Disclaimer
This article is general educational information for Odissi dancers in India who want to start online classes. It is not legal, tax, or financial advice. Payment platform pricing, UPI rules, GST thresholds and child-protection regulations can change, may vary by state and personal circumstances, and may be interpreted differently by authorities.
For decisions about GST registration, business structure, or tax filing, consult a qualified chartered accountant or tax professional and refer to the latest CBIC and GST Council notifications and FAQs. [7] For questions about child safety, privacy and online conduct with minors, review official resources from the Ministry of Home Affairs, the Press Information Bureau, NCPCR, and seek independent legal advice where necessary. [9][10][11]
Sources and Further Reading
Primary and supporting references. Verify time-sensitive information at the original publisher.
- En In — workspace.google.com
- 208482245 Instamojo Transaction Fees No Setup Or Maintenance Fees — instamojo.zendesk.com
- Affordable eCommerce Website Pricing – Starts at Just ₹10/day | Instamojo — www.instamojo.com
- Payment Gateway Charges – Simple & Transparent Pricing — razorpay.com
- Product Booklet — www.npci.org.in
- Watch — www.youtube.com
- Goods & Service Tax, CBIC, Government of India :: Sectoral FAQs — cbic-gst.gov.in
- GUIDE BOOK GST 0808 2024 — icmai.in
- Crime Against Children | Ministry of Home Affairs — www.mha.gov.in
- Press Release Page | Press Information Bureau — www.pib.gov.in
- Guidelines — www.ncpcr.gov.in
- Instamojo Pricing in 2026: 5 Plans Compared — www.itechguides.com
- Fee Calculator — www.instamojo.com
- Best Payment Link Tools for Creators in India — www.growwwth.net
- Instamojo — paymentreview.com
- Npcicircular — rscb.bank.in
- Final Gst Faq Edition — www.gstcouncil.gov.in
- AU2952 FoNm40 — sansad.in
- UPI Circle Brand Guidelines Cc333752ea — www.npci.org.in
- Watch — www.youtube.com